1. 前言
在网页上面添加及时通讯是不是很酷~能和访客面对面交流,毫无障碍!
项目官网:Deploy your self-hosted Chatwoot server | Chatwoot
Chatwoot 原生支持不同的部署选项,AWS、AZURE、GCP 还有 DigitalOcean 都提供了便捷部署的方式。免费版本使用限制较多,只提供了网页交流方式。不过一般来说已经足够了。
Docker 部署方式:Docker Chatwoot Production deployment guide | Chatwoot
演示:

2. 准备
在开始部署之前,你需要安装 docker 和 docker-compose。此项目需要使用较新的 docker 与 docker-compose 版本,安装 docker-compose 时,请使用夜梦提供的比较新的版本 2.23.0。具体安装见:【docker】在服务器上安装 docker/docker-compose
3. 部署
创建文件夹:
mkdir -p /root/data/docker_data/chatwoot
cd /root/data/docker_data/chatwoot
创建环境配置文件:
vim .env贴入环境配置,具体环境变量的使用可以看官方的文档,夜梦这里就稍微修改一下必要的内容。剩下的都删了~
必须要修改的:
SECRET_KEY_BASE:可以在服务器上运行openssl rand -base64 32后,获得生成的随机字符串,然后贴入下面的环境变量中。- FRONTEND_URL:使用域名,例如:
https://chat.yemengstar.com SMTP相关配置,可以按着自己的服务和需求填写。REDIS_PASSWORD:密码,复杂一点。POSTGRES_PASSWORD:密码,复杂一点。
# 用于验证签名cookie的完整性。因此,请确保设置了一个安全值!
SECRET_KEY_BASE= wa3iuUPFvwvGVeAtbyDlgodSOMnbWEJ98/LWoLLskgI=

# 替换你运行的域名或者IP地址
FRONTEND_URL= https://chat.yemengstar.com

# Force all access to the app over SSL, default is set to false
FORCE_SSL=false

# 注册选项
# true : 允许注册
# false : 关闭注册
# api_only: 关闭UI上的注册,但可以通过API注册
ENABLE_ACCOUNT_SIGNUP=false

# Redis 配置
REDIS_URL=redis://redis:6379
# 设置REDIS的密码,建议复杂一点
REDIS_PASSWORD=xuu3hfXJY+vtfHjV9fGWkzCYi+dL6Qhr66VJUEcEnV0=

# Postgres Database 配置,密码复杂一点
POSTGRES_HOST=postgres
POSTGRES_USERNAME=postgres
POSTGRES_PASSWORD=b00q4eTJHQmVpXsZ2zlsXGKeWr1mcAJ4mgFpca1LnHE=
RAILS_ENV=development
RAILS_MAX_THREADS=5

# 下面时SMTP配置,可以用来配置邮件通知。具体配置信息建议到你的邮箱服务商那里查看。
MAILER_SENDER_EMAIL=Chatwoot <accounts@chatwoot.com>
SMTP_DOMAIN=chatwoot.com
SMTP_ADDRESS=
SMTP_PORT=
SMTP_USERNAME=
SMTP_PASSWORD=
# plain,login,cram_md5
SMTP_AUTHENTICATION=
SMTP_ENABLE_STARTTLS_AUTO=true
# Can be: 'none', 'peer', 'client_once', 'fail_if_no_peer_cert', see http://api.rubyonrails.org/classes/ActionMailer/Base.html
SMTP_OPENSSL_VERIFY_MODE=peer
# 如果您的SMTP服务器需要,请注释掉以下环境变量。
# SMTP_TLS=
# SMTP_SSL=

# Mail Incoming
# 下面是连续会话使用的邮箱
MAILER_INBOUND_EMAIL_DOMAIN=
# 将此设置为适当的接收渠道,以接收到电子邮件
# 支持的邮箱 :
# relay for Exim, Postfix, Qmail
# mailgun for Mailgun
# mandrill for Mandrill
# postmark for Postmark
# sendgrid for Sendgrid
RAILS_INBOUND_EMAIL_SERVICE=
# 根据电子邮件入口服务,使用以下其中一个
# 参考: https://edgeguides.rubyonrails.org/action_mailbox_basics.html
# 将其设置为您选择的密码,并在入站webhook中使用它
RAILS_INBOUND_EMAIL_PASSWORD=

MAILGUN_INGRESS_SIGNING_KEY=
MANDRILL_INGRESS_API_KEY=

# Creating Your Inbound Webhook Instructions for Postmark and Sendgrid:
# Inbound webhook URL format:
#    https://actionmailbox:[YOUR_RAILS_INBOUND_EMAIL_PASSWORD]@[YOUR_CHATWOOT_DOMAIN.COM]/rails/action_mailbox/[RAILS_INBOUND_EMAIL_SERVICE]/inbound_emails
# Note: Replace the values inside the brackets; do not include the brackets themselves.
# Example: https://actionmailbox:mYRandomPassword3@chatwoot.example.com/rails/action_mailbox/postmark/inbound_emails
# For Postmark
# Ensure the 'Include raw email content in JSON payload' checkbox is selected in the inbound webhook section.

# 存储信息的形式,默认本地
ACTIVE_STORAGE_SERVICE=local

# Amazon S3
# 参考文档: https://www.chatwoot.com/docs/configuring-s3-bucket-as-cloud-storage
S3_BUCKET_NAME=
AWS_ACCESS_KEY_ID=
AWS_SECRET_ACCESS_KEY=
AWS_REGION=

# 日志设置
RAILS_LOG_TO_STDOUT=true
LOG_LEVEL=info
LOG_SIZE=500

# 省事儿起见,后面夜梦全给他删了。需要的小伙伴可以看官方的文档加上。
创建 compose 文件:
vim docker-compose.yaml贴入配置,其中要把 POSTGRES_PASSWORD 修改为上面环境变量中设置过的那个密码。
version: '3'

services:
  base: &base
    image: chatwoot/chatwoot:latest
    env_file: .env ## 环境变量文件的名字
    volumes:
      - ./data/storage:/app/storage

  rails:
    <<: *base
    depends_on:
      - postgres
      - redis
    ports:
      - 5678:3000
    environment:
      - NODE_ENV=production
      - RAILS_ENV=production
      - INSTALLATION_ENV=docker
    entrypoint: docker/entrypoints/rails.sh
    command: ['bundle', 'exec', 'rails', 's', '-p', '3000', '-b', '0.0.0.0']

  sidekiq:
    <<: *base
    depends_on:
      - postgres
      - redis
    environment:
      - NODE_ENV=production
      - RAILS_ENV=production
      - INSTALLATION_ENV=docker
    command: ['bundle', 'exec', 'sidekiq', '-C', 'config/sidekiq.yml']

  postgres:
    image: postgres:12
    restart: always
    # ports:
    #  - 5432:5432
    volumes:
      - ./data/postgres:/var/lib/postgresql/data
    environment:
      - POSTGRES_DB=chatwoot
      - POSTGRES_USER=postgres
      # 环境变量里面设置的密码
      - POSTGRES_PASSWORD=b00q4eTJHQmVpXsZ2zlsXGKeWr1mcAJ4mgFpca1LnHE=

  redis:
    image: redis:alpine
    restart: always
    command: ["sh", "-c", "redis-server --requirepass \"$REDIS_PASSWORD\""]
    env_file: .env
    volumes:
      - ./data/redis:/data
    # ports:
    #  - 6379:6379
准备数据库,要点时间,稍作等待~
docker compose run --rm rails bundle exec rails db:chatwoot_prepare当出现 Created database 'chatwoot_production' 说明完成了。
启动:
docker-compose down
docker-compose up -d
备注:chatwoot-base-1 不会运行,显示的是 exit 状态,不影响使用。
base container is an intermediatory container used to build the rails and sidekiq ones. It is not expected to be running.
4. 反向代理
你需要完成反向代理并开启 SSL,具体为你的域名 -> 服务器IP:5678,反代可以参考下面两篇文章:
【docker】反向代理神器 ——Nginx Proxy Manager 的安装
【docker】Nginx Proxy Manager 的使用
5. 使用
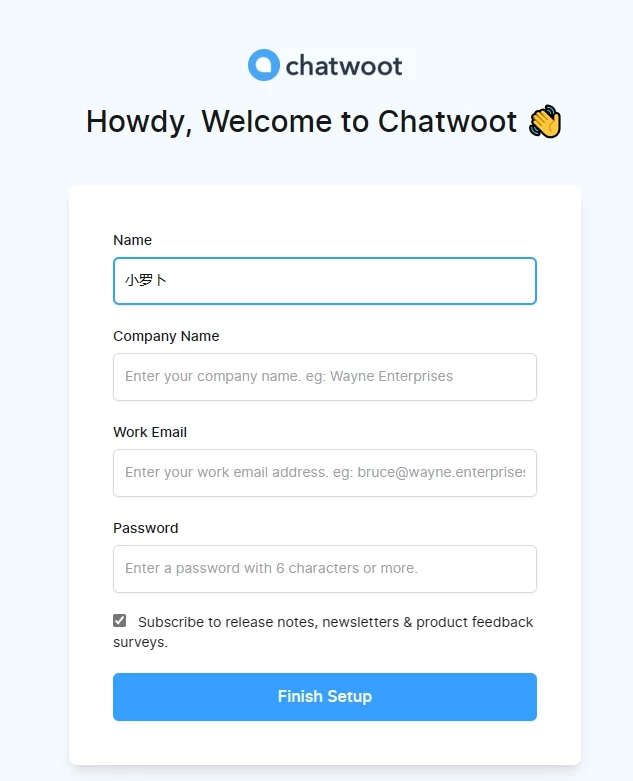
访问你的域名,就可以进入初始化界面。

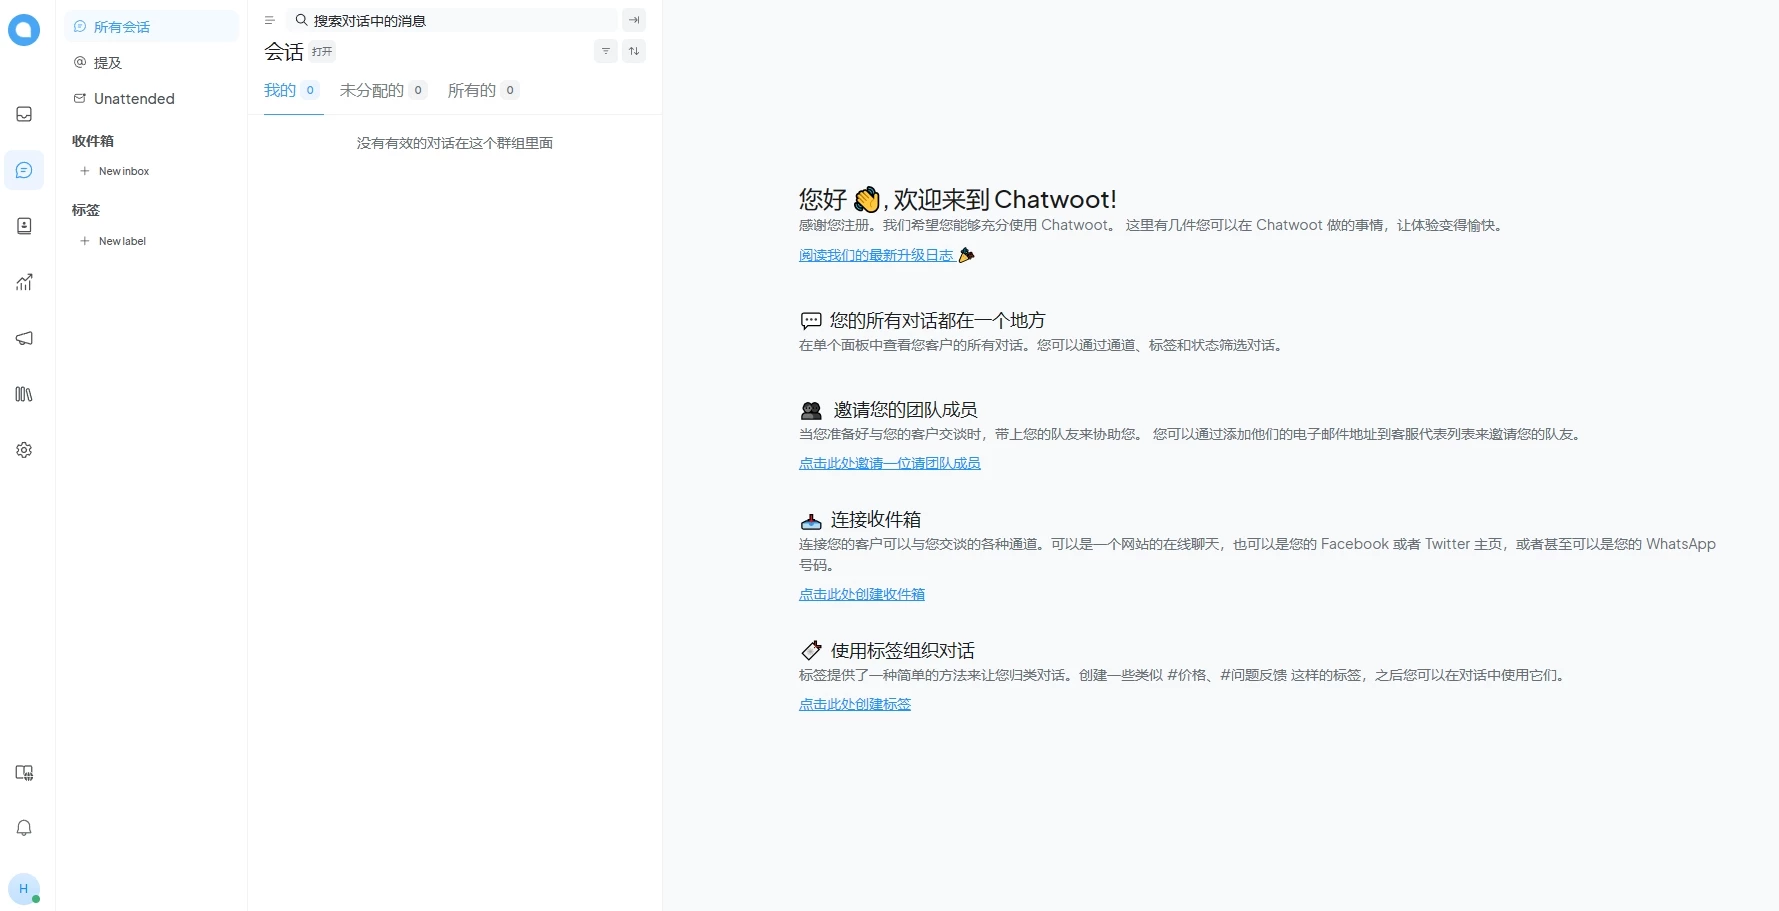
注册完登录。

Comments0